

Quick Answers
How do you machine a countersunk hole for fasteners?
Countersunk holes are a common feature in manufacturing, especially when it comes to fasteners.
These holes are designed to allow the fastener head to sit flush with the material’s surface, providing a smooth and streamlined finish.
Tools and Materials Needed
Before you begin machining a countersunk hole, it’s essential to gather all the necessary tools and materials. Here is a list of items you will need:
- Drill press or milling machine
- Countersink bit
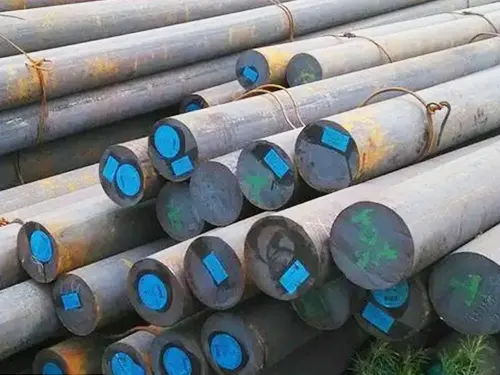
- Workpiece material (e.g., metal, plastic, wood)
- Calipers or ruler for measurements
- Safety glasses and gloves
Step-by-Step Guide
Follow these steps to machine a countersunk hole for fasteners:
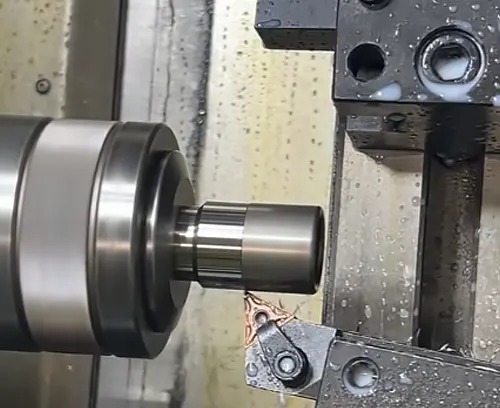
Step 1: Prepare the Workpiece
Secure the workpiece to the drill press or milling machine using clamps or a vise. Make sure the workpiece is stable and secure to prevent any movement during the machining process.
Step 2: Determine the Countersink Angle
Before you start drilling, determine the angle of the countersink. Most countersinks have a standard angle of 82 degrees, but this may vary depending on the application. Use a protractor or angle gauge to measure the angle if necessary.
Step 3: Select the Countersink Bit
Choose a countersink bit that matches the size of the fastener head. The bit should also have the appropriate angle to create a countersunk hole that fits the fastener securely.
Step 4: Set the Depth of the Countersink
Adjust the depth stop on the drill press or milling machine to control the depth of the countersink. Measure the length of the fastener and set the depth stop accordingly to ensure the countersunk hole is the correct depth.
Step 5: Align the Bit with the Workpiece
Position the countersink bit over the desired location of the countersunk hole. Use a center punch to mark the center point for precise alignment. This will help ensure that the countersink is drilled in the correct position.
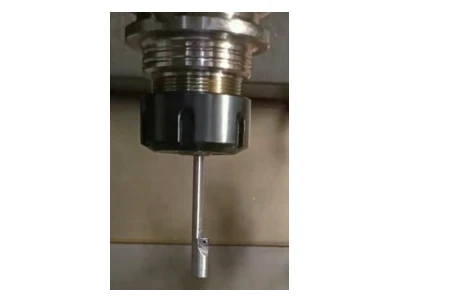
Step 6: Drill the Countersunk Hole
Start the drill press or milling machine and slowly lower the countersink bit into the workpiece. Apply steady pressure and keep the bit perpendicular to the surface to create a clean and accurate countersunk hole. Make sure to stop drilling once you reach the desired depth.
Step 7: Inspect the Countersunk Hole
After drilling the countersunk hole, inspect it for any defects or irregularities. Check the angle, depth, and size of the hole to ensure it meets the specifications for the fastener being used.
Benefits of Countersunk Holes
Countersunk holes offer several benefits in manufacturing and construction, including:
- Improved aesthetics: Countersunk holes create a clean and professional appearance by concealing the fastener head.
- Enhanced safety: Countersunk fasteners reduce the risk of snagging or catching on protruding hardware, reducing the potential for injuries.
- Increased durability: By placing the fastener head below the surface, countersunk holes protect the fastener from damage and corrosion, extending its lifespan.
Conclusion
Machining a countersunk hole for fasteners requires precision, careful planning, and the right tools.
By following the steps outlined in this article and paying attention to detail, you can create smooth and perfectly countersunk holes that enhance the overall quality and functionality of your projects.
Always prioritize safety, accuracy, and craftsmanship when machining countersunk holes in your manufacturing processes.